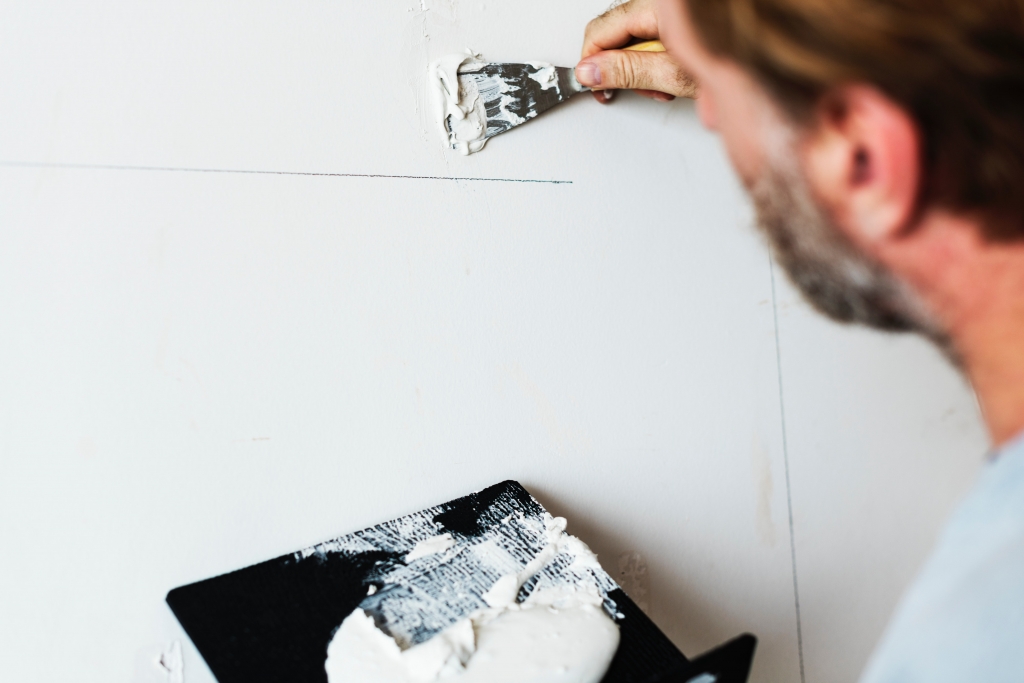
Repairing Damaged Drywall

Sometimes our walls don’t hold up well against life’s little accidents. No matter the size of the hole, it becomes an unsightly blemish on your otherwise perfect walls. The tools for these types of repairs are minimal and with a little bit of patience, your wall will be perfect yet again.
This is a beginner’s guide to repairing the damage caused by moving furniture or installing that new shelf.
How to Repair Screw or Nail Holes
Sometimes when installing a shelf, you can miss your mark and now have an unsightly screw hole.
Supplies needed:
- 1” putty knife
- Spackle or drywall mud (finish compound only)
- 120 grit sandpaper or a sanding sponge
- Painter’s rag or tack cloth
- TSP
Step by Step
- Make sure the area is clean and free of contaminates. TSP is the best for this and can be found in any paint store.
- Use the butt end of your putty knife to push down any rough edges around the screw hole, creating a small dent.
- Use your putty knife to fill the hole, this is best done in an x pattern to ensure full coverage. Push firmly to create a smooth surface.
- Let dry.
- Lightly sand.
- Wipe contaminants.
- Prime and paint.
How to Repair Dents
While rearranging furniture or moving walls can get bumped leaving a dent.
Supplies needed:
- putty knife larger than the dent
- Spackle or Drywall mud (finish compound only)
- 120 grit sandpaper of block
- painter’s rag or tack cloth
- TSP
Step by Step
- Make sure the area is clean and free of contaminants, use TSP if needed.
- Use sandpaper to lightly sand area where possible.
- Use your putty knife to fill the hole, this is best done in an x pattern to ensure full coverage. Push firmly to create a smooth surface.
- Let dry
- Lightly sand, feel with your hand to make sure the area is flat
- Prime and paint
How to Repair Holes up to 6”
Even worse, your furniture fumble leaves a hole.
Supplies needed:
- 6 – 12” putty knife
- Drywall mud (finish joint compound only)
- 80 & 120 grit sandpaper or sanding block
- Painter’s rag or tack cloth
- self-adhesive drywall repair patch, 2” bigger than the hole.
Step by Step
- Make sure the area is clean and free of contaminants, use TSP as needed.
- Firmly place the self-adhesive drywall patch over the top of the hole.
- Put a thin coat of mud over the area.
- Let dry.
- Sand with 80 grit to shape your patch.
- Sand with 120 to smooth the surface.
- Use your hand to determine the flatness of repair and sand as needed.
- Prime and paint.
Tips to Prime and Paint a Perfect Patch
- Using the same paint originally on the wall is the only way to guarantee a perfect patch.
- If you have to colour match the paint it is recommended to paint edge to edge.
- If the paint is flat, in most cases you don’t have to paint the entire wall
- Paint with a sheen ex. Eggshell or semi-gloss will in most cases flash, to remedy this paint from wall to wall.
- Primer helps build up the patch to help mimic the texture on the wall from previous paint.
- The best way to paint a patch is with a roller.
Or book an appointment and we will take care of it for you.


